Gravel, or crushed stone, is becoming an increasingly popular material to use around the home and garden. There are a number of benefits to installing a gravel driveway. Not only does it create a rustic, homely aesthetic that will elevate the appearance of any front yard, but it’s also affordable, practical, and easy to install and maintain.
With so many positive features, you’re probably itching to learn how to lay a gravel driveway at your home. Don’t worry about your level of experience because we’ll step you through each stage of the project and in 7 easy steps you’ll have confidently completed your DIY gravel driveway.
Preparing for Your Gravel Driveway Installation
So you’ve decided to install a gravel driveway - an excellent decision! But before you get started, you need to do some preparatory work and set yourself up with all the right tools and materials for the job. There are a few essentials you’re going to need like landscape stake to mark out area, a shovel, a wheelbarrow to transport the gravel, a rake, and the most important material - the gravel itself.
You should probably also invest in some thick gardening gloves to protect your hands and for a grander finish, consider installing driveway edging - large rocks, steel edging, and decorative boulders all work really well. Consider hiring a roller or vibrating plate compactor to compact the material down.
Gathering Your Materials and Tools
As with any project, it’s worth investing in
quality materials to ensure the long life of your work. Once you’ve gathered
the tools and materials you need for your gravel driveway, you’re ready to get
to work.
Step-by-Step Driveway Installation Guide
Installing a gravel driveway can be a rewarding DIY project. You will save on labour costs and have the satisfaction of doing it yourself. However, if you are unsure about the process or prefer to leave it to the experts, we can connect you with trusted professionals in your area.
Step 1: Choose Your Gravel
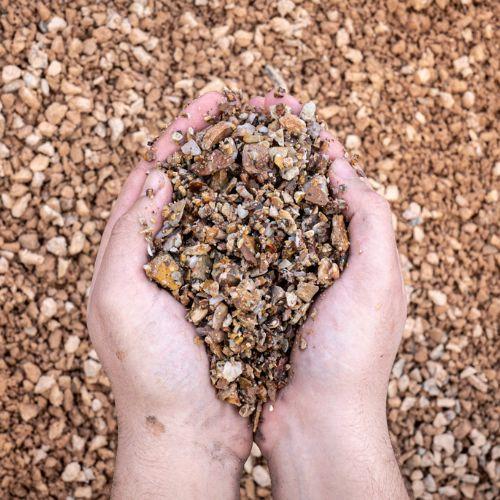
Step 1 on your journey to laying a gravel driveway is choosing your gravel product. It’s important that you take time to select the right type, size, and colour of gravel that will suit your needs and match your property. Daisy’s Garden Supplies has an extensive range of products suitable for driveways and pathways including crushed rock and decorative topping products.
If you like to feel texture beneath your feet and hear a crunchy sound with every step you take, then Daisy’s range of toppings are perfect for you. These durable materials compact hard and is available in bulk or bags. For a strong base that feels sturdy and firm but has minimal loose materials on top, consider toppings such as Brown Granite (Dromana) or Granitic Sand. These consist of a combination of coarse, medium, and fine materials which, when compacted, cause the finer materials to fill the gaps between the larger ones creating a firm and stable surface.
Step 2: Measure Out Your Driveway
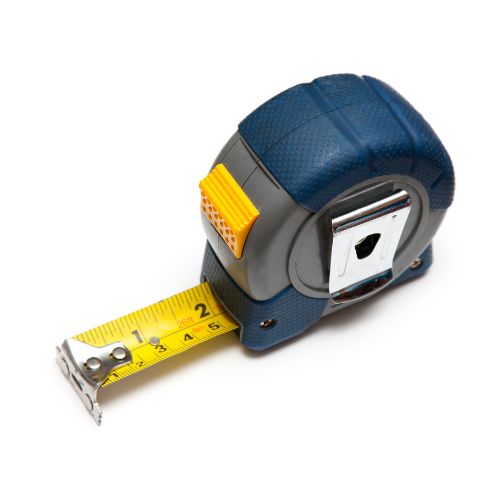
Before ordering your gravel, you have to know the size of your driveway. This will ensure that you order the right amount of material to do the job correctly. Begin by staking the entire length and width of your driveway using landscaping stakes and string. This will help you accurately measure the length and width of your driveway. Multiply the length and width to work out the area in square meters. For example, if your driveway is 6 meters long and 3 meters wide, then your total area is 18 square meters (18m²). For a driveway, it’s recommended that you lay out the material to a minimum depth of 100mm or 10cm, though you may like to increase this depending on your situation – heavy traffic. Speak to our friendly staff to work out how many cubic meters of gravel you’ll need for the size of your driveway, or you can use our online Volume Calculator tool to determine how much product you will need for your project.
Step 3: Decide on Edging
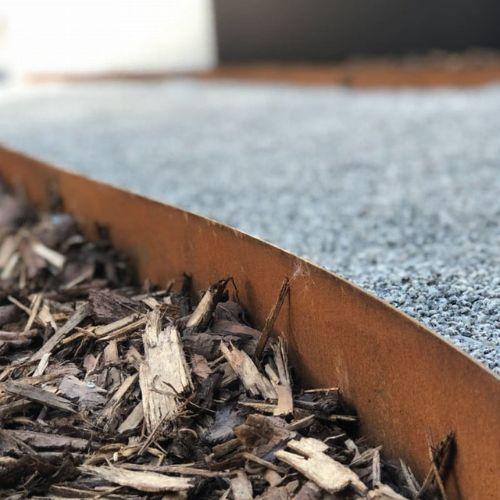
Once you’ve settled on the gravel you’re going to use for your driveway, you should take a moment to consider what kind of edging or border you’d like to include to complete the look. It’s not essential, but your driveway might look unfinished without some edging. And while it adds to the visual appeal of your driveway, it also serves a practical purpose by helping contain the gravel within your driveway and not spilling out.
There are a few options when it comes to driveway edging and they all work well. Classic steel edging adds a touch of style and elegance to your outdoor space and perfectly complements a crushed rock driveway by adding a different textural element.
For a less polished and more rustic look, you may like to line your driveway with large feature rocks or decorative boulders.
Step 4: Dig the Area
Now that you’ve decided on all the cosmetic elements of your new driveway like your gravel and edging, and have all the necessary tools and materials at your disposal, it’s time to roll up your sleeves and get to work. But before you do, check there are no underlying cables or pipes by contacting Dial Before You Dig.
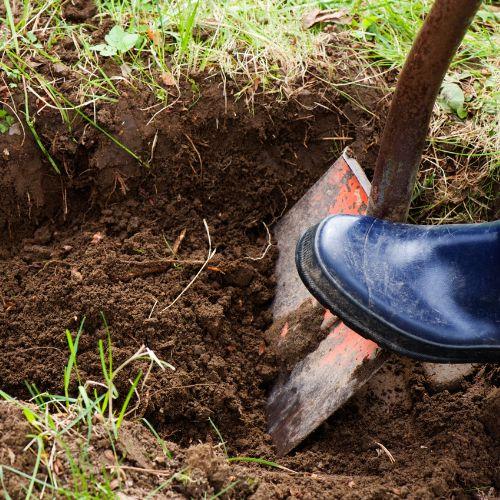
The first thing you need to do is prepare and clear the area of your driveway by using your shovel and any other digging tools to remove any grass, topsoil, debris, bushes, or tree stumps and roots. You’ll need to dig out the area to the required depth, usually between 100-150 millimeters. Remember that you need about 50-100mm for the sub-base and at least 50mm for the gravel on top. Take care that you create a flat and stable base. Note that if your driveway is very large, you may need to hire a roller or compactor plate to compact the base layer.
Step 5: Install the Weed Prevention Membrane (Optional)
The last thing you want to see on your newly installed immaculate gravel driveway is weeds popping up making it look messy. To prevent this from happening, we strongly recommend first laying down a weed prevention membrane. Since you’re installing a gravel driveway that will get both foot and car traffic, you should make sure you use a heavy duty membrane. Daisy’s Garden Supplies offers woven polypropylene weed mats that guarantee durability with their UV-stabilised 85gsm density.
Step 6: Lay the Sub-Base
It’s important that your driveway is stable and that it doesn't sink under the weight of your car. By laying a sub-base you can achieve the sturdy foundation you require. Start off by laying down Crushed Rock over the driveway area. Use your rake to spread it out evenly over the entire area and compact it hard. You may decide to use a compactor or roller to achieve the desired result. If you intend to use decorative gravel, lay down about 50-100mm of crushed rock to form your sub-base. Remember to leave at least 50mm between the sub-base and the surface for your decorative gravel topping.
If you have drainage issues at your property you may need to consider installing an ag pipe drainage or french drains to aid drainage. Call the experienced and friendly staff at Daisy’s Garden Supplies for advice on steps you can take to ensure your driveway is stable and has proper water drainage.
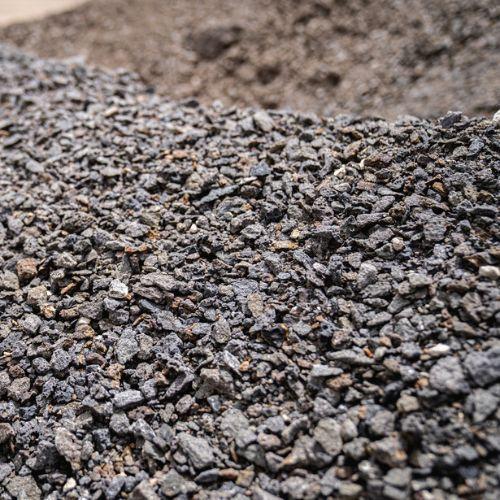
Step 7: Add Your Decorative Gravel
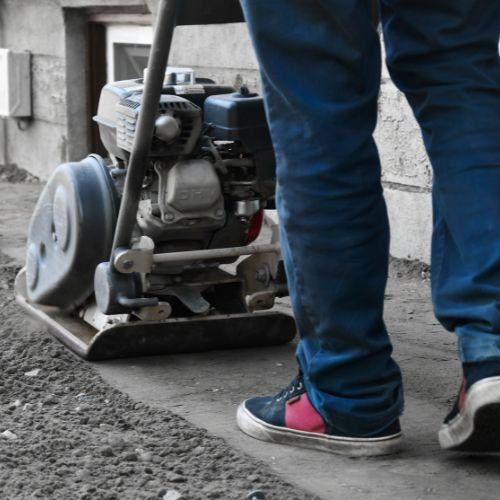
Use a wheelbarrow to transport your decorative topping into position. Shovel it out and use a rake to spread it evenly over your sub-base. Make sure that your top layer of gravel is at least 50mm deep. Finally, hire a vibrating compactor plate or a roller to compact your gravel and create a smooth surface.
Now your new gravel driveway is complete and ready for you to enjoy.
Cost to Install Gravel Driveway
Gravel driveways are relatively inexpensive and certainly cheaper than other options such as paving. The cost to install a gravel driveway will vary depending on several factors including the size of the driveway, your selection of crushed rock and gravel topping, whether you lay down a sub-base, whether you install driveway edging and any material delivery costs.
In addition to the cost of materials, you’ll have to factor in the cost of any tools you may have to buy or hire such as compacting equipment to compact the crushed rock.
Achieve the Perfect Driveway with Daisy's Garden Supplies
Building your own gravel driveway doesn’t need to be overly complicated. Just follow the steps that we’ve outlined and don’t take shortcuts. Working on a DIY project is extremely rewarding and with the right supplies and quality materials even a novice can manage the job. Don’t forget to reach out to Daisy’s Garden Supplies with any questions you may have along the way - we’re here to help and happy to do so.